If you have ever watched a makeup tutorial, applied your foundation, and then wondered why your face looked nothing like the person on screen, you are not alone. For many Nigerian women, the struggle is real: patchy foundation, cakey finish, or the grey cast that makes you look years older The result is rarely about the product. More often than not, it is about the tool and the technique. That is where the beauty blender sponge comes in, and once you learn how to use it correctly, your makeup game will never be the same.
In this post, we are going to break down everything you need to know about using a beauty blender sponge specifically for Nigerian skin. We will cover whether to use your sponge wet or dry, how to build full coverage without looking cakey, tips for mature skin, how to keep your sponge clean so it lasts longer, and when a brush might actually serve you better. Whether you are a complete beginner or someone who has been doing their makeup for years but feels like something is still off, this guide is for you. By the end, you will know exactly how to get that seamless, flawless finish that looks like your skin, but better.
What Exactly Is a Beauty Blender Sponge?
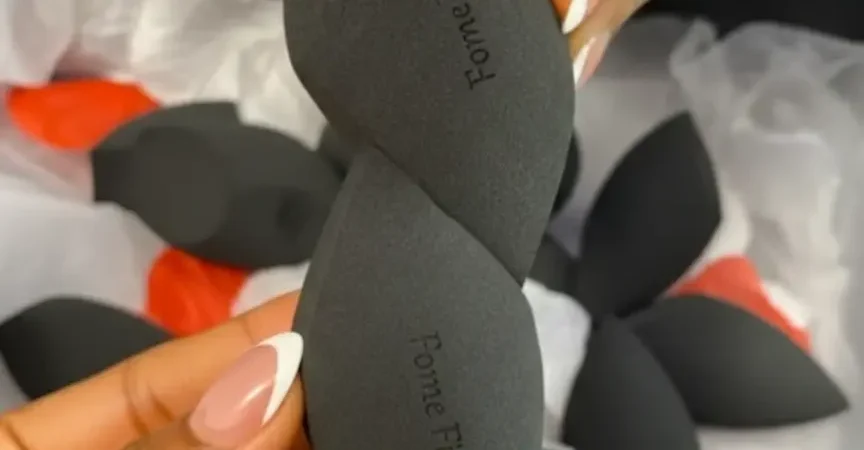
A beauty blender is a soft, egg-shaped makeup sponge designed to apply and blend foundation, concealer, and other face products seamlessly into the skin. Unlike flat sponges or fingers, the rounded edges and pointed tip of a beauty blender allow you to reach every corner of your face: around the nose, under the eyes, and along the jawline without leaving streaks or lines.
For Nigerian skin specifically, a good beauty blender is a game changer. Our skin tones are rich and varied, and the wrong application technique can leave foundation looking uneven, too light, or sitting on top of the skin rather than melting into it. The beauty blender, when used correctly, gives that natural, skin-like finish that makes people wonder if you’re using makeup.
Wet or Dry: How Should You Use Your Beauty Blender?
This is one of the most common questions, so let us settle it once and for all: always use your beauty blender wet. Here is why. When the sponge is dry, it absorbs most of your foundation into itself rather than depositing it onto your skin. You end up using twice as much product and getting half the result. When it is damp, the sponge is already saturated, so it cannot absorb your foundation, it simply blends it onto your face. This is how you get that airbrushed, skin-like finish.
How to dampen your beauty blender correctly
- Run it under clean water until it is fully soaked
- Squeeze out the excess water firmly, you want it damp, not dripping
- Give it one final squeeze with a clean towel
- It should feel soft, plump, and bouncy, that is when it is ready.
Pro tip: because of the Nigerian heat, using cold water to dampen your sponge gives your skin a cooling effect and helps your foundation sit better, especially if you have oily skin.
How to Apply Foundation With a Beauty Blender for Full Coverage
If you want full coverage, to cover hyperpigmentation, dark spots, or uneven skin tone, here is your step-by-step routine:
Step 1: Start with a primer
Apply a thin layer of primer to your face and let it sit for about 60 seconds. This creates a smooth base and helps your foundation last longer, which is especially important in Lagos, Abuja, or anywhere else where the heat and humidity are not playing with you.
Step 2: Apply foundation directly to your face
Dot your foundation directly onto your forehead, cheeks, nose, and chin rather than onto the sponge. This gives you more control over how much product you use and ensures even distribution.
Step 3: Use a dabbing motion, not rubbing
This is the most important technique to master. Do not drag or wipe the sponge across your face, you will wipe the foundation right off. Instead, dab and press the sponge onto your skin in a bouncing motion. Think of it as patting the foundation into your skin rather than painting it on.
Step 4: Build in thin layers
For fuller coverage, apply a first thin layer, let it settle for a moment, then dab on a second layer where needed, typically around the nose, chin, and any areas with discolouration. Building in layers gives a more natural finish than dumping all the product on at once.
Step 5: Use the pointed tip for detail areas
The tip of the beauty blender is perfect for blending concealer under the eyes, around the nose, and on any blemishes. Dab gently, no tugging, especially around the delicate eye area.
How to use beauty blender sponge for Nigerian skin
For women with mature skin, the beauty blender is actually one of the best tools you can use, but technique matters even more. As skin ages, it develops fine lines, and heavy or cakey foundation tends to settle into those lines and make them more noticeable.
Here is how to use your sponge to avoid that:
- Use a hydrating or skin-tint foundation rather than a full-coverage matte formula, which can look heavy on mature skin
- Apply a moisturising primer first to plump and smooth the skin
- Use light, feathery dabs with the sponge, do not press too hardAvoid powder if possible, or apply only a very small amount with a fluffy brush to set
- Focus coverage only where you need it rather than applying all over
The beauty blender’s bouncing motion is gentle enough not to tug on the skin, which makes it far more suitable for mature skin than a brush or flat sponge.
When to Use a Brush Instead of a Sponge
A brush is not the enemy; it is just a different tool for a different job. Here is a quick guide on when to apply foundation with a brush instead:
For heavier, full-coverage looks: A flat foundation brush can deposit more product than a sponge, making it better for very high-coverage needs
For powder products: A fluffy brush is always better for setting powder, bronzer, blush, and highlight
For speed: If you are in a rush, a brush applies foundation faster than a sponge
For precise areas: A small concealer brush gives more precision than the tip of a beauty blender
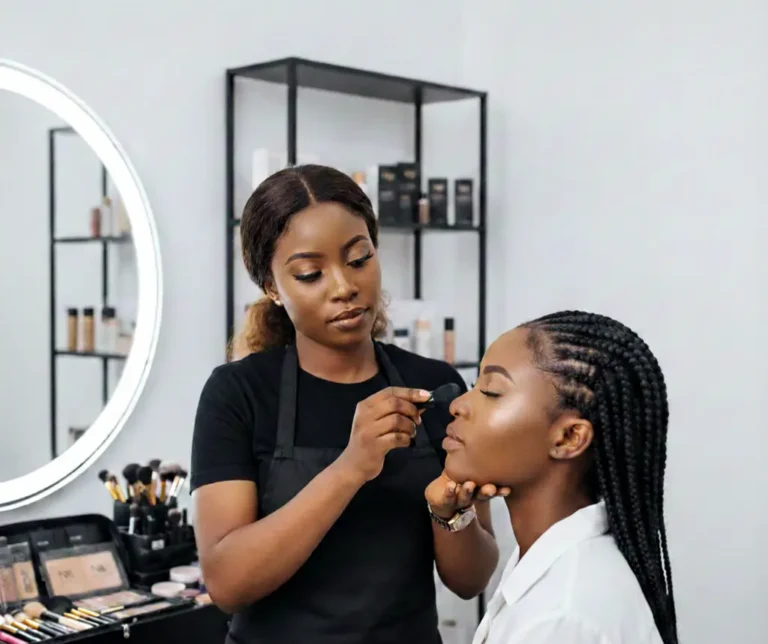
For the most flawless finish, many professional makeup artists (MUAs) actually combine both. They use a brush to apply the foundation first and then go over it with a damp beauty blender to blend everything seamlessly. Try it and see the difference.
How to Clean Your Makeup Sponge
A dirty beauty blender is one of the fastest ways to ruin your skin. It harbours bacteria, old products, and oil, and every time you use it, you are pressing all of that back onto your face. Clean your sponge at least once a week if you use it regularly.
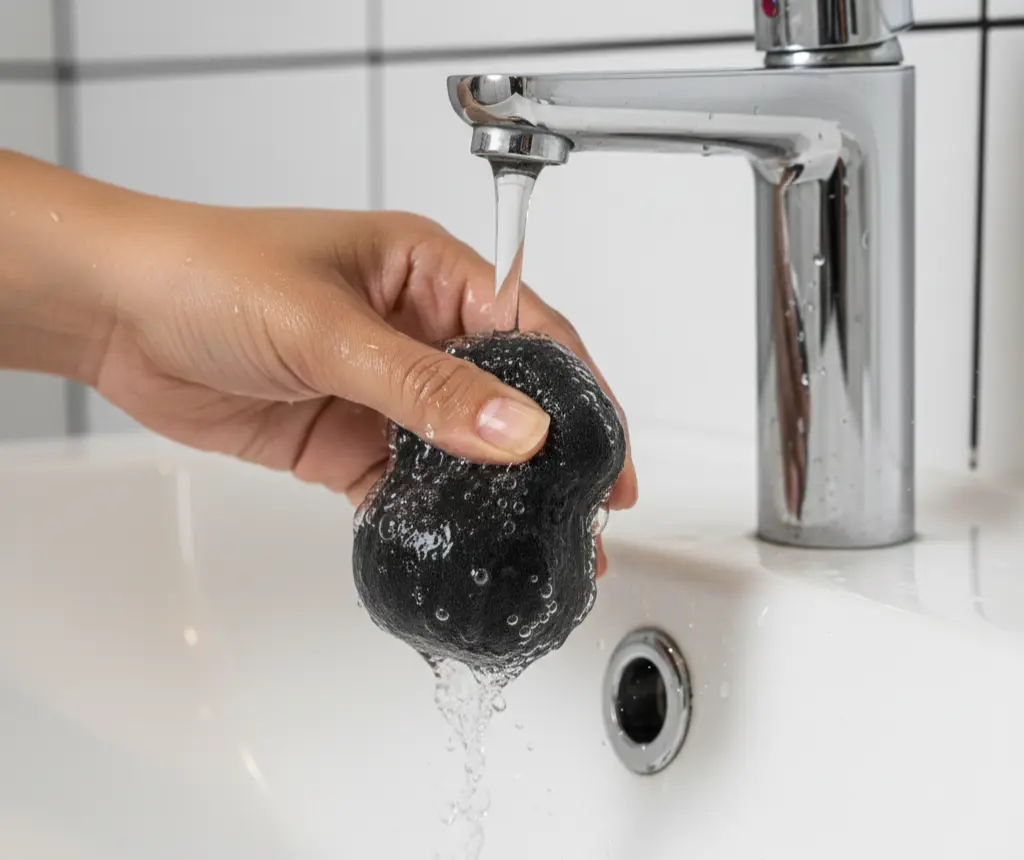
How to clean it properly
- Wet the sponge under running water
- Apply a small amount of gentle soap, baby shampoo, dish soap, or a dedicated brush cleanser; all work well
- Squeeze and massage the sponge until the water runs clear
- Rinse thoroughly and squeeze out excess water
- Leave it to air dry in an open space, don’t seal a damp sponge in a bag or case, as this encourages mould
Replace your beauty blender every 3–4 months, or sooner if it starts to tear, smell, or change colour permanently.
Why the Right Tools Make All the Difference
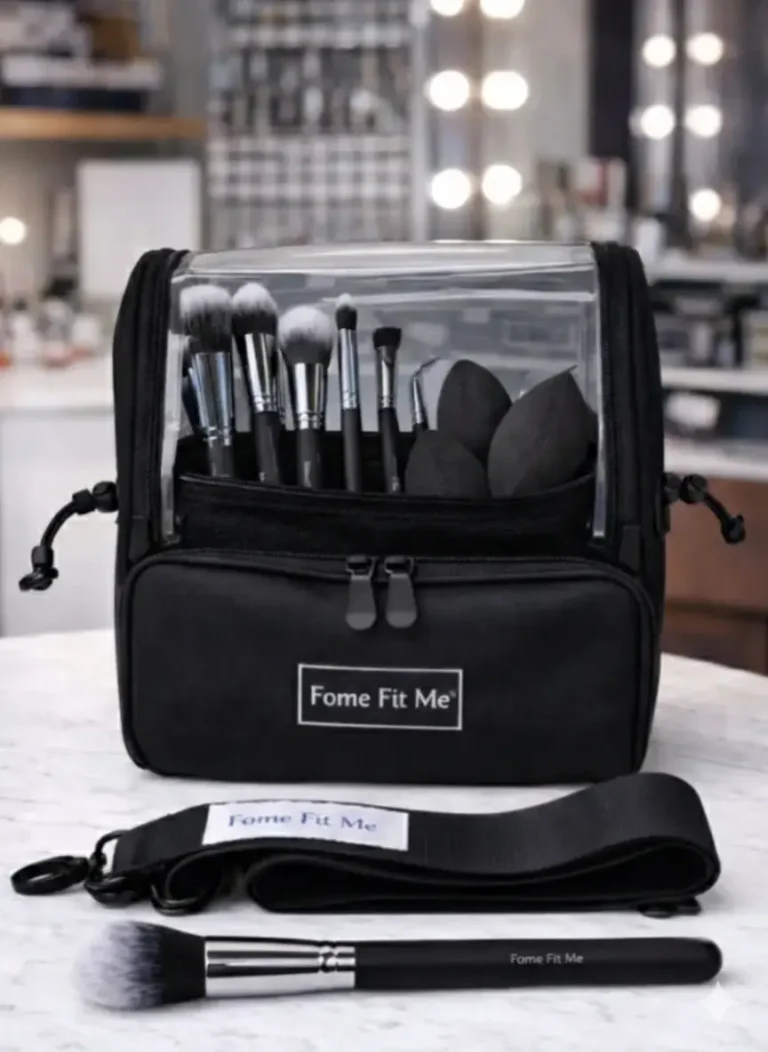
No guide on how to use a beauty blender sponge for Nigerian skin would be complete without saying this: the quality of your sponge matters. A low-quality sponge breaks apart quickly, absorbs too much product, and does not blend evenly. Investing in a good beauty blender and keeping it clean is one of the smartest beauty decisions you can make.
At Fomefitme, we stock high-quality beauty blenders, professional makeup brushes, and beauty bags designed to keep all your tools organised and protected. Because you deserve tools that actually work as hard as you do.

FAQ’s
1. Can I use a beauty blender sponge without water?
It is not recommended. Using a dry beauty blender causes it to absorb most of your foundation, wasting product and leaving a less even finish. Always dampen it first for the best results.
2. How do I stop my foundation from looking grey or ashy on dark skin?
This is usually a shade or undertone issue rather than a technique problem. Make sure your foundation matches your undertone: warm, cool, or neutral. Apply in natural light when possible, and blend well past your jawline to avoid a harsh line.
3. How long does a beauty blender last?
A good quality beauty blender, properly cleaned and cared for, should last 3–4 months with regular use. If it starts to tear, smell, or feel rough, it is time to replace it.
4. Can I use my beauty blender to apply powder?
Yes, but it works best for pressed or setting powder applied lightly. For loose powder or heavy setting, a fluffy powder brush will give you a more even, natural result.
5. What is the best way to store a beauty blender?
Store your beauty blender in a cool, dry, open space, not in a sealed bag, while it is still damp. Many beauty blenders come with a ventilated case, which is ideal. Keeping it clean and dry between uses will help it last longer and keep your skin clear.